Temporary Roof Repair for Greater Boston's Leaking Roofs
Temporary roof repair for a leaking roof in Greater Boston: how to stabilize the inside, tarp or patch a roof by type, protect against further damage, and know when a temporary fix has to give way to permanent repairs.
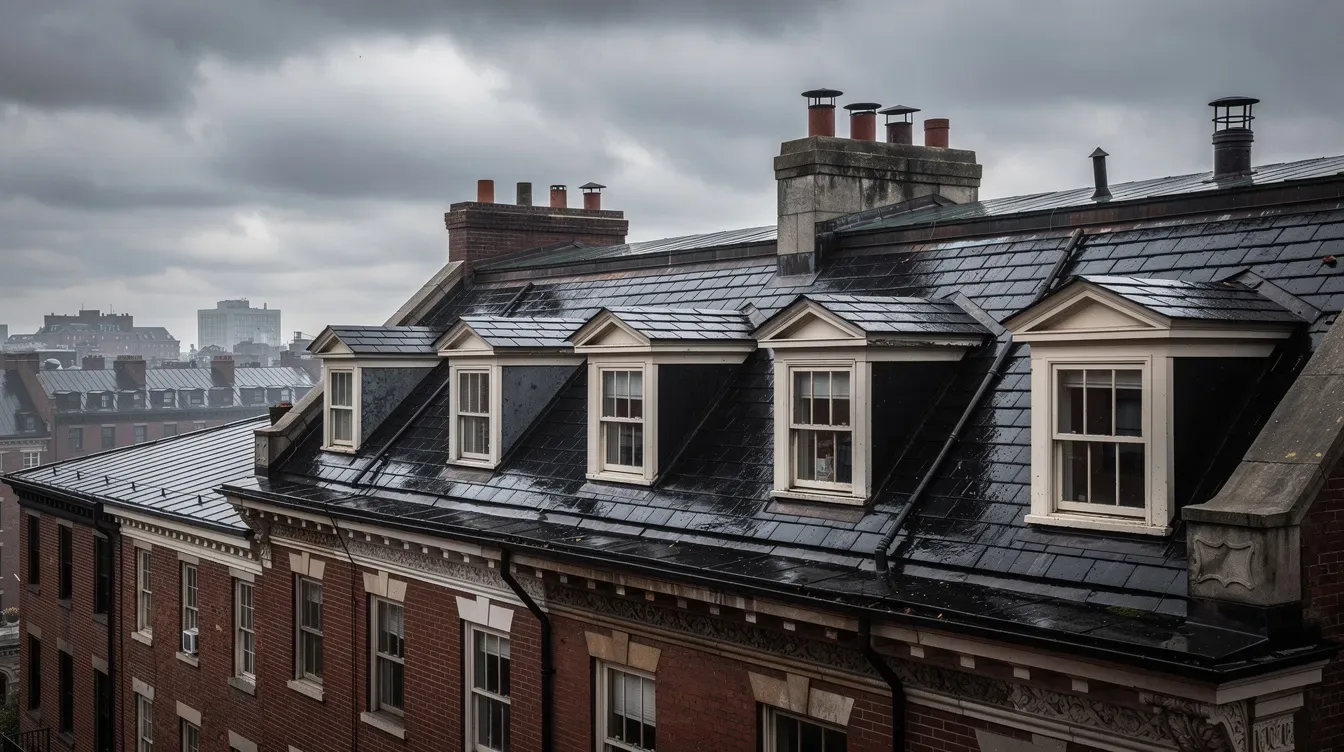
TL;DR: A temporary roof repair buys you time. It does not replace a real fix. When water comes through the ceiling, get buckets under every visible drip, cut power to wet light fixtures, and lay plastic sheeting over anything you cannot move. Then, only if the roof is dry and safe, weight a heavy tarp over the leak or seal a small hole with roofing cement. Tarps can protect a roof for up to 90 days when secured right. After that you need permanent repairs, because trapped moisture rots the historic wood you are trying to save.
Repair · 14 min read
Water coming through a plaster ceiling during a nor’easter is the kind of moment that empties your stomach. I have taken those calls at two in the morning, the homeowner standing under a spreading brown ring with a mixing bowl in each hand. The good news is that the first hour is mostly about staying calm and doing a few right things. This guide walks the whole arc, from emergency stabilization inside your home to a real temporary roof repair that holds the historic fabric together until a permanent solution goes in.
I am Arturo Nieto. I run Art Slate Roofing, a family shop out of Cambridge, and we have worked slate and copper across Greater Boston since 2005. What follows is what I tell people on the phone before we can get a truck out.
Emergency Stabilization: What to Do the Moment Your Roof Starts Leaking
When water starts coming through the ceiling, there is really only one question: what do I do this minute? A Boston nor’easter does not hand you an afternoon to think it over. Wind driven rain and heavy rain push water into gaps a calm drizzle never finds, and a stain the size of a saucer can spread into serious interior damage by the time you have located the ladder. Speed beats tidiness here. Move now, mop up later.
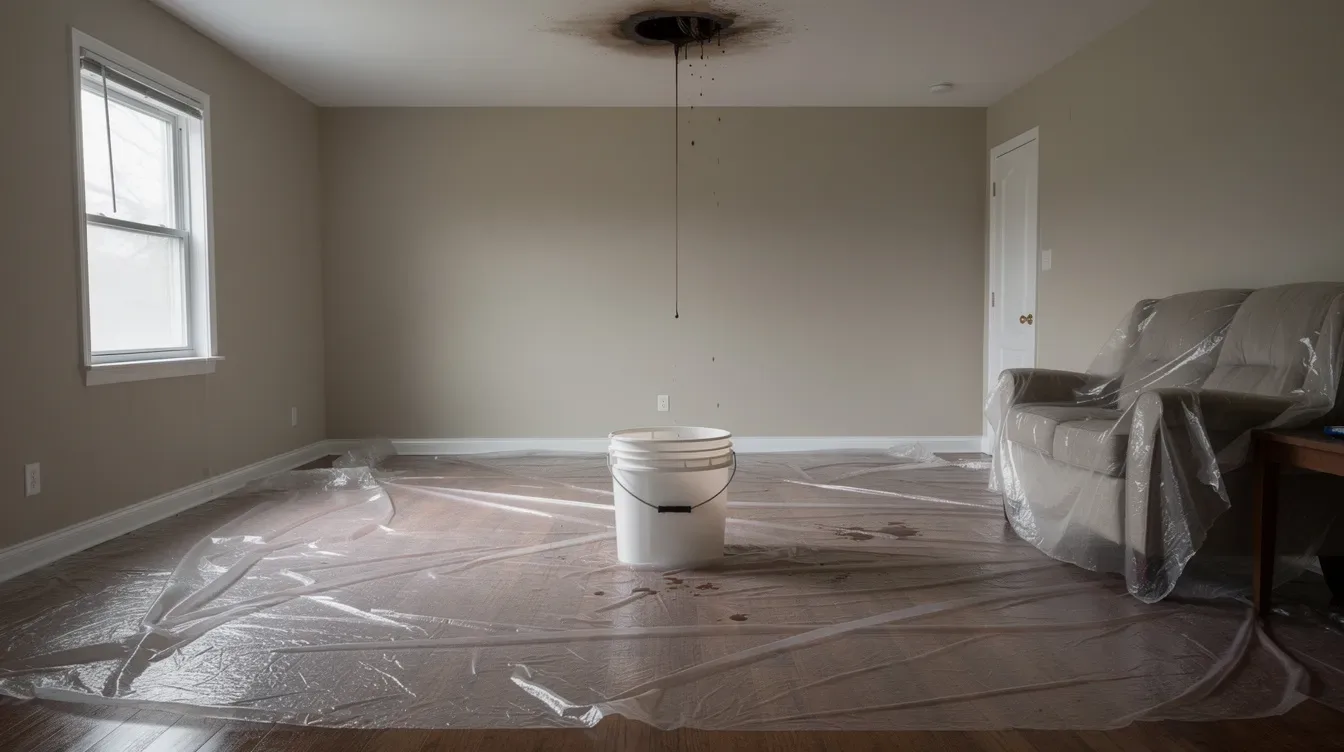
Move the furniture, rugs, and anything you love out of the leaking area first. Then place buckets under every visible drip. If any water is showing at light fixtures, cut power to those circuits at the breaker before you go near them. Lay plastic sheeting or heavy trash bags over hardwood floors and whatever you cannot lift.
One more thing, and it saves ceilings. If a plaster ceiling is bulging with trapped water, take a screwdriver and poke a small hole at the lowest point. Drain it into a bucket. It feels wrong to make a hole on purpose, but a controlled drain beats a sudden collapse of the whole ceiling.
Before you touch a thing, get your phone out and photograph all of it, the wet ceiling, the dripping fixture, the bucket filling up. Those timestamps matter more than you would guess once an adjuster is involved. Everything you have just done, the buckets, the plastic, the drained ceiling, counts as mitigation, and mitigation is what keeps one bad night from turning into a gutted room while you wait on a roofer. It also buys you the hours to plan a temporary fix and schedule a professional repair. None of this is failure, by the way. Temporary fixes are how every old house rides out a storm, and we take these calls across Greater Boston all year.
Why Temporary Roof Repair Matters, and Where It Stops
It helps to keep three things separate in your head. A quick fix is what you throw up in the dark, tarps, roofing cement, a strip of tape. A temporary repair is a step up from that, a more deliberate patch you build to hold for weeks or months. Then there are permanent repairs, the real work: new flashing, re-laid slate, copper, a proper membrane. A temporary repair has exactly one job, and it is a narrow one. Hold the water off until the proper repair can be done. Nothing past that.
Let me tell you what a small roof leak does to a house built in 1890 if you leave it alone. It finds the lath-and-plaster ceiling and soaks it until a section lets go, usually onto a bed or a dining table. It runs down and rots the original trim nobody mills anymore. It sits in the wall as wet insulation that has quit insulating. Give it a day or two of that damp and you have mold growth. Give it a season and you are into costly structural damage, the framing and the millwork that make the house what it is, and you cannot order those from a catalog.
Quick fixes are a different animal from permanent solutions like replacing deteriorated chimney flashing, re-laying slate courses, or correcting flat roof drainage. Temporary measures are designed to last days to a few months at most. Rely on them for years and you trap moisture behind the barrier, which accelerates rot and mold growth in the very structures you meant to save. Temporary roof repairs do not substitute for permanent fixes. Say it twice, because people forget it once the drip stops.
Safety First: When Not to Get on a Wet Roof
No temporary roof repair is worth a trip to the emergency room. Before anyone climbs, take a hard look at what you are about to get onto, and if the honest answer is not today, wait for safe weather. I have turned around in a driveway more than once and never regretted it.
Some conditions are simply a no. A wet roof, to start with, or anything a storm has torn up, you stay off entirely. Same goes during an active storm, in high winds, or on the glaze of ice that shows up after a January thaw. Steep slate and metal roofs, the ones all over Beacon Hill and Back Bay, are slick and brittle at the same time, and one boot in the wrong place cracks three or four slates you will then be paying to match. And if the roof decking looks like it is sagging, or feels soft when you press it, stop. That is the structure warning you it is giving way under your weight.
High Winds, Roof Edges, and a Wet Roof
If you insist on going up, real safety gear is not optional. OSHA standards want fall protection once a roof passes a 4/12 pitch and anywhere near the roof edges, and there is hard experience behind that rule. For most homeowners, though, the smart move is to never leave the house. Read the leak from the attic, manage the water from below, and hand the high, steep, or complicated part to a roofing professional. That is not giving up. That is knowing which fights are worth having.
Finding the Source of a Roof Leak From Inside
The drip on your ceiling is almost never under the spot where the roof leak starts. Water travels along rafters before it drips down, so the entry point of a leak is usually uphill from the stain. In homes with dormers, mansards, and complicated rooflines, water can ride a beam several feet before it shows over a third-floor bedroom.
Trace it from the attic. Use a flashlight to find wet spots on the underside of the roof deck, then follow the water trails back toward the ridge or a roof penetration like a chimney, vent, or skylight. Rusted nails are a tell. They indicate older water damage in the attic and point to a recurring problem, not a one-time event.
Reading Wet Insulation and Attic Spaces
Look for mold growth or discolored, wet insulation, which shows water runs the same path every storm. Then lightly mark the suspected leak areas with painter’s tape or chalk so you, or your roofer, can find them from outside later. These observations from inside attic spaces guide any temporary roof repair you do from the exterior, and they give a professional roofer the context to do a real assessment. The root cause is almost always a flashing joint, a valley, or a spot near roof penetrations, rarely the open middle of a slate field.
Tools and Materials for a Temporary Roof Repair
Half of staying calm during a leak is having the stuff on hand before the storm rolls in. None of it is exotic. A single trip to the local hardware store covers nearly the whole list.
For covering, you want plastic sheeting in the 4 to 6 mil range and a couple of heavy-duty blue tarps, at least 6 mils thick, because the thin cheap ones shred in a nor’easter and end up worse than nothing. Add a roll of roofing tape and some tar paper or roofing felt for layered patches. For sealing, keep roofing cement, plastic roofing cement, a tube of roofing sealant, and a high-grade polyurethane sealant on the shelf. The tools are ordinary, a putty knife, a caulk gun, a utility knife. To hold things down you need wood planks or 2x4s, a few wood strips, plus nails, screws, a hammer, and a drill. Round it out with a sturdy extension ladder, gloves, safety glasses, a headlamp for attic work in the dark, a box of heavy trash bags, duct tape, and a roll of self-adhering membrane for any flat roof sections.
Here is the step people skip. Before a patch goes down, clear the debris around the damaged area, branches, wet leaves, broken slate, all of it, because nothing sticks to a mess. A patch only grabs a clean surface. And keep every receipt in a shoebox. When you file an insurance claim, that shoebox is your case.
Temporary Roof Covering Options by Roof Type
Boston homes often carry slate, copper, asphalt shingles, and flat roof sections on the same building, sometimes on the same wall. Each roof type wants a slightly different hand.
Asphalt Shingles: Tarps, Roofing Cement, and Makeshift Shingles
Asphalt is the forgiving one. Tack a tarp over the damaged area and you have bought time. For missing shingles, apply roofing cement under the lifted shingles beside the gap and press them flat, or run roofing tape over any small cracks. Loose shingles will hold a while if you re-secure them with roofing tape. And if the last owner left a bundle in the garage, which happens more than you would think, slide a few in as makeshift shingles until a professional job gets scheduled.
Slate Roofs and Safe Access
Do not walk on slate. One footstep can crack several tiles, and matching them later is its own expense. If you can safely access the area, weight a tarp with boards or sandbags rather than nailing into the slate. Slate roofs across Boston sit on steep mansard faces where professional inspections are the only safe option.
Metal Roofs, Sheet Metal, and Why We Skip Flex Seal
On metal roofs, stay non-invasive. Use weighted tarps or adhesive tape rated for metal. Never puncture copper or sheet metal panels, because you risk starting corrosion or opening a new leak. Products like flex seal look convenient in the ad, but they discolor period copper and are miserable to remove later. I have scraped enough of it off to have an opinion.
Flat Roof Sections and Low Slope
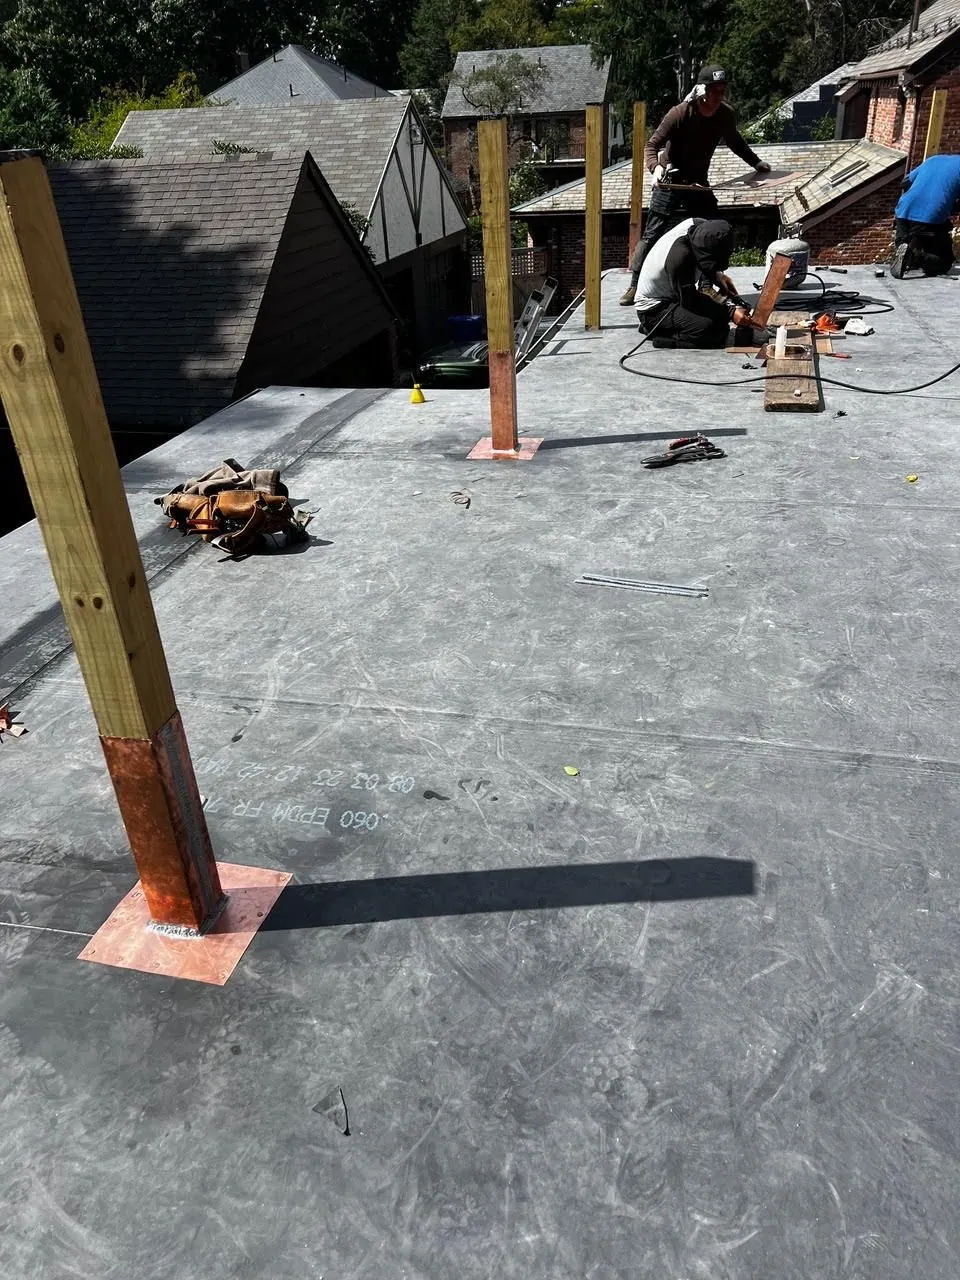
On a flat roof over a porch or rear addition, extend the tarp past any spot where water pools so you are not trapping water underneath. A flat roof leak is usually ponding, so a temporary patch with a compatible membrane holds better than a tarp alone. On a low slope, set it so water flows off rather than collecting in wrinkles. Membrane-specific patches give you a water shield that outlasts simple tarping, and a self-adhering membrane patch can survive multiple rain events.
How to Tarp or Temporarily Patch a Leaking Roof
What follows is the shape of the job, not a license to climb. Do it only when the roof is bone dry and you feel steady up there.
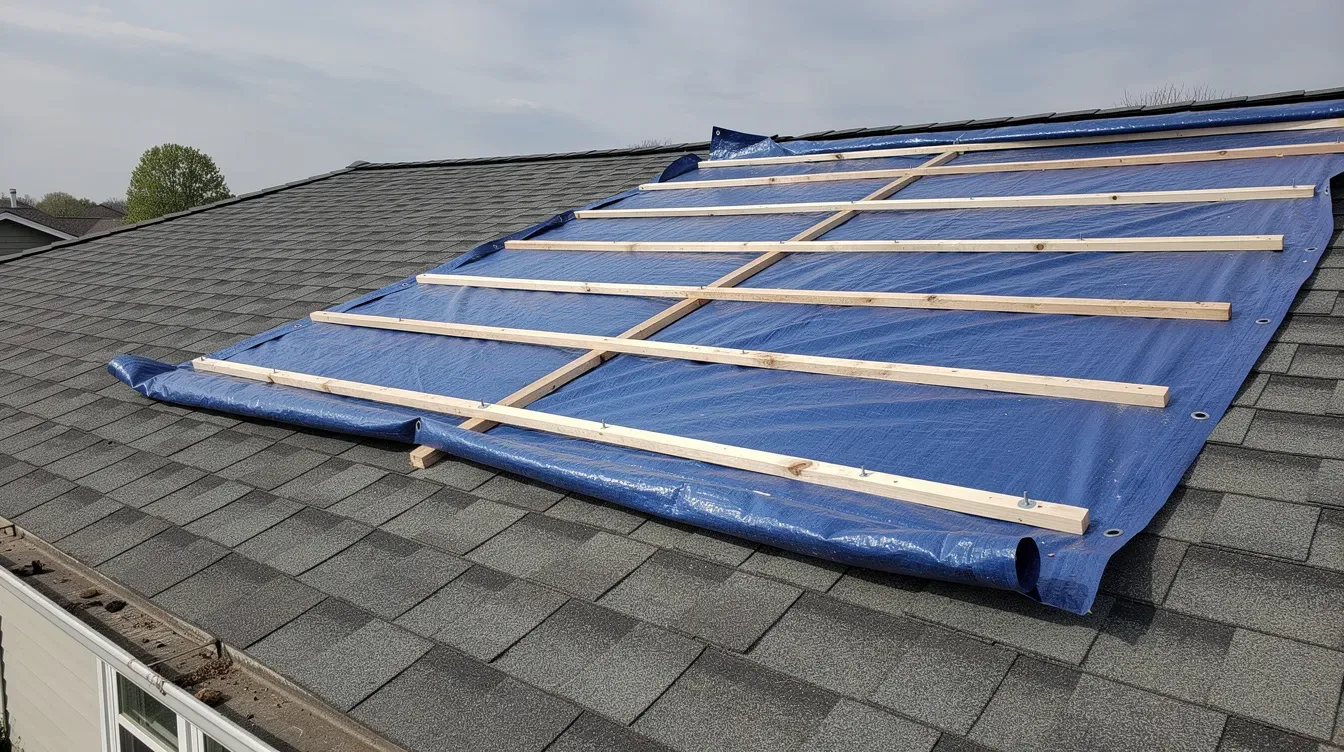
Start with a tape measure, inside and out. Whatever your tarp or plastic sheeting covers, it has to run at least 3 to 4 feet past every bit of visible damage, well past the hole, or the wind drives water in at the edge and you have accomplished nothing. Drape it over the ridge or the highest point above the leak. If a dormer is the culprit, carry the tarp up and over the dormer ridge, not just across its face. Cover the hole alone and you have wasted the afternoon, because water slides in from above and runs right under your work.
Secure the upper edge with wood strips or 2x4s screwed into sound decking, never into slate tiles, copper panels, or decorative trim. For a bigger opening, a plywood patch can cover the hole or a structural gap before you tarp over it for extra protection. Then weight or fasten the lower edges. On a flat roof, use sandbags or boards. On pitched sections, screw planks through the tarp into solid decking, which adds an extra layer of wind resistance.
Work the wrinkles and pockets out. A taut, neat temporary roof covering sheds water and survives the next storm. Tarps can protect roofs for up to 90 days when secured properly, but only when they go on without the big folds where water gathers. Then photograph the finished tarp, note the date and materials, and check it after heavy rain or high winds.
Other Quick Fixes: Sealants, Tape, and Temporary Patches
When a full tarp is overkill, or you cannot safely access the exterior, smaller fixes buy days or weeks until help arrives.
Roofing Cement and Roofing Sealant for Small Holes
Apply roofing cement for small holes and gaps around pipe boots, chimney bases, and skylight frames. Work it into the cracks on a clean surface with a putty knife or caulk gun. High-grade polyurethane sealants can be used for minor punctures or cracks in flashing. They are meant as a hold, not a cure.
Roofing Tape From the Attic Side for Small Leaks
For very small leaks when the exterior is unsafe, roofing tape can be pressed onto dry sheathing from inside the attic. Roofing tape seals leaks and secures loose shingles on the exterior as well, so it earns its place in the kit.
Tar Paper, Roofing Felt, and Plastic Roofing Cement
Tar paper and roofing felt create a durable temporary patch when layered over a damaged area. Plastic roofing cement strengthens those patches with tar paper and makes them more weather-resistant. It is an old method, and it works because it is simple.
Sheet Metal and Plastic Patches for Larger Holes
For a larger hole, temporary patching with sheet metal and roofing cement is the move. Cut a piece of rigid plastic or sheet metal to size and slide it under lifted shingles as a temporary roof patch on a less visible section. A roof patch like this is not pretty, but it holds water out. Whatever you use, monitor your patch regularly after heavy rain. These are temporary solutions, not permanent repair methods, and they do not belong on visible slate or copper details in historic districts where the material rules are strict.
Protecting the Interior From Further Damage
For a lot of Boston homeowners, saving the plaster, the original woodwork, and the decorative ceilings is as urgent as the roof itself. So while the leak is live, protect the inside as hard as you protect the outside.
Get the antique rugs, the furniture, and the framed things off the floor and out of the room, then cover the hardwood with plastic sheeting. Set up fans and a dehumidifier right away, because mold growth does not wait around; it can take hold within 24 to 48 hours of steady damp. If a ceiling is bulging, drain it from the lowest point into a bucket. And keep working those buckets, empty them, slide them under each new drip, because that is your front line against water intrusion until the repair happens. A ceiling that drains slowly stays up. A ceiling holding a bathtub does not.
Check around light fixtures for moisture, and if water is near anything electrical, kill power at the breaker before you touch it. Then document all interior damage with dated photos and notes, focused on original millwork, built-ins, and plaster. That record matters for insurance and for guiding any historic roof restoration work later.
Temporary Repairs, Insurance Claims, and Your Roofing Company
A well-documented temporary roof repair supports a future insurance claim rather than hurting it. The key word here is mitigate. Most Massachusetts homeowners insurance policies expect you to take reasonable steps to prevent further damage after a covered event like storm damage.
So write down the storm date and note the extent of the damage before and after your temporary repair. Keep receipts for every tarp, tube of roofing cement, roll of roofing tape, and sheet of plastic sheeting. Insurance may deny claims if damage worsens due to inaction, so showing that you acted quickly, with photos and receipts, strengthens your position with the insurance company.
For a complex roof with multiple leaks, structural worries, or heavy storm damage, have a professional roofer evaluate things before you file a major claim. A short-form permit may be required even for repair work in Boston. We can provide a free roof assessment, detailed photos, and written findings you can hand straight to your insurance company to back a claim.
When to Call for Permanent Repairs
A temporary repair is only the first step. To protect a historic or high-value home for the long haul, you need permanent solutions matched to your roof type and the period of the house.
Call us if you see repeated roof leaks in the same spot despite tarping, visible damage to slate tiles or copper panels, or deteriorated flashing around chimneys, dormers, or valleys, which is a classic leak source in Beacon Hill and Back Bay homes. Ongoing flat roof trouble despite temporary coverings, or any sign of sagging decking, belongs on that list too.
When it is extensive, or when you find yourself chasing multiple leaks around the roof, that is the point to bring in a professional. A tarp and a tube of cement can hold further damage off until we get there, but they never touch the root cause, and the root cause is the whole reason it keeps leaking. Keep an eye on your patch after every storm, because the time to learn it failed is on a dry afternoon, not at midnight in the next downpour. When we come out for the permanent repair, we handle slate roofs, copper roofing, historic roof restoration, chimney repair, gutters, and ice melt systems, all built for Greater Boston’s climate and the strict material rules of its historic districts.
Frequently Asked Questions
How Long Does a Temporary Roof Repair Last?
It depends on the fix. A tarp weighted and battened correctly can protect a roof for up to 90 days. Self-adhering membrane patches can last through multiple rain events. Roofing cement and roofing tape hold for days to a few weeks. None of it is a permanent repair. Temporary measures are meant to last days to a few months at most, and leaning on them for years traps moisture and speeds rot in older homes.
Can I Do a Temporary Roof Repair Myself, or Should I Call a Professional Roofer?
On a dry, low, walkable section you can lay a tarp or dab roofing cement on a small hole yourself. On slate, copper, or anything three stories up on Beacon Hill, no. Those roofs are slippery and fragile, and a single footstep cracks slate. Call a professional roofer for extensive damage, multiple leaks, or a steep roof. Working from inside the attic is almost always the safer move for a homeowner.
What Is the Difference Between a Quick Fix, a Temporary Repair, and a Permanent Repair?
A quick fix is tarps, roofing cement, or tape thrown up in an emergency. A temporary repair is a more deliberate patch meant to hold for weeks or months. Permanent repairs mean full restoration of the flashing, slate, copper, or membrane. Temporary roof repairs do not substitute for permanent fixes. They limit water damage until proper repair can be done, nothing more.
How Do I Stop a Leaking Roof From Inside During Heavy Rain?
Move furniture and rugs clear, then place buckets under every visible drip. If water is near light fixtures, cut power to those circuits at the breaker first. Lay plastic sheeting over hardwood you cannot move. If a plaster ceiling is bulging with trapped water, poke a small hole at the lowest point and drain it into a bucket to prevent a sudden collapse. Photograph everything before you touch it.
Will a Temporary Roof Repair Hurt My Insurance Claim?
The opposite, when it is documented. Most Massachusetts homeowners policies expect you to take reasonable steps to prevent further damage after storm damage. A well-recorded temporary repair supports an insurance claim. Keep receipts for every tarp and tube of roofing cement, note the storm date, and take dated photos before and after. Insurance may deny claims if damage worsens because you did nothing.
Is It Safe to Get on a Wet Roof to Patch a Leak?
No. Never access a wet or storm-damaged roof. Wait for safe weather. OSHA standards call for fall protection on roofs steeper than a 4/12 pitch and near roof edges, and steep slate or metal roofs are slick and fragile even when dry. If the roof is wet, active, or steep, work from inside and call a roofing professional for the exterior.
Can I Use Flex Seal or Roofing Tape on a Slate or Copper Roof?
I would not. Products like flex seal can discolor period copper and are difficult to remove later. Roofing tape and tar smeared on visible slate or copper details break the material rules in historic districts. On those roofs, place weighted tarps instead of anything adhesive or nailed, and let a professional handle the permanent solution.
Talk to the Owner
A temporary roof repair is a stopgap, not a plan. Once the drip slows and the buckets stop filling, the real question is where the water actually got in, and that is not something you call from the ground or off a photo.
Every job we take gets walked by me before a number goes on paper. If you have a leak that keeps coming back, or a tarp that has been up longer than a season, that walk is free. Call 617-913-1130, schedule a free assessment, or reach our emergency line if the leak is live right now. We are Art Slate Roofing, family-run out of Cambridge since 2005, licensed and insured, MHIC #176393, rated 4.9 across 23 Google reviews, and we cover Greater Boston, the North Shore, and the South Shore, 24/7 when a leak cannot wait.